概要
ROS 2のサービスを使用して、GazeboのModel位置の取得と設定を行う方法を解説します。
検証環境
- ROS 2 Humble
- Gazebo 11.10.2
検証手順
gazebo_ros_state プラグインを使用します。このプラグインを使用することで、set_entity_stateやget_entity_stateと行ったサービスが使用できるようになります。(ROS 1ではget_model_state、set_model_stateに対応するもの)
参考:
ROS 2 Migration: Entity states
Wrappers, tools and additional API's for using ROS with Gazebo - ros-simulation/gazebo_ros_pkgs
github.com
今回使用するサンプルのworldファイルを作成します。場所は任意で、sample_world.worldというファイル名で以下の内容で作成します。ポイントは、libgazebo_ros_stateプラグインを指定して読み込んでいるところと、操作するBOXをsample_boxという名前で配置しているところです。
<?xml version="1.0"?>
<sdf version="1.6">
  <world name="default">

    <!-- Load gazebo_ros_state plugin -->
    <plugin filename="libgazebo_ros_state.so" name="gazebo_ros_state">
      <!-- Set the ROS node name for the plugin -->
      <ros>
        <namespace>/gazebo</namespace>
      </ros>
    </plugin>

    <!-- A global light source -->
    <include>
      <uri>model://sun</uri>
    </include>

    <!-- Ground Plane -->
    <include>
      <uri>model://ground_plane</uri>
    </include>

    <!-- Other world entities and settings go here -->
    <!-- Your robot, models, light, physics, etc. -->

    <!-- Add a box model -->
    <model name="sample_box">
      <pose>0 0 0.5 0 0 0</pose> <!-- Initial position and orientation -->
      <link name="link">
        <collision name="collision">
          <geometry>
            <box>
              <size>1 1 1</size> <!-- Size of the box -->
            </box>
          </geometry>
        </collision>
        <visual name="visual">
          <geometry>
            <box>
              <size>1 1 1</size> <!-- Size of the box -->
            </box>
          </geometry>
        </visual>
      </link>
    </model>
  </world>
</sdf>
このファイルを指定して、gazeboを以下のコマンドで起動します。(ここでは、ホームディレクトリにworldファイルを配置した例で記載しています)
gazebo ~/sample_world.world
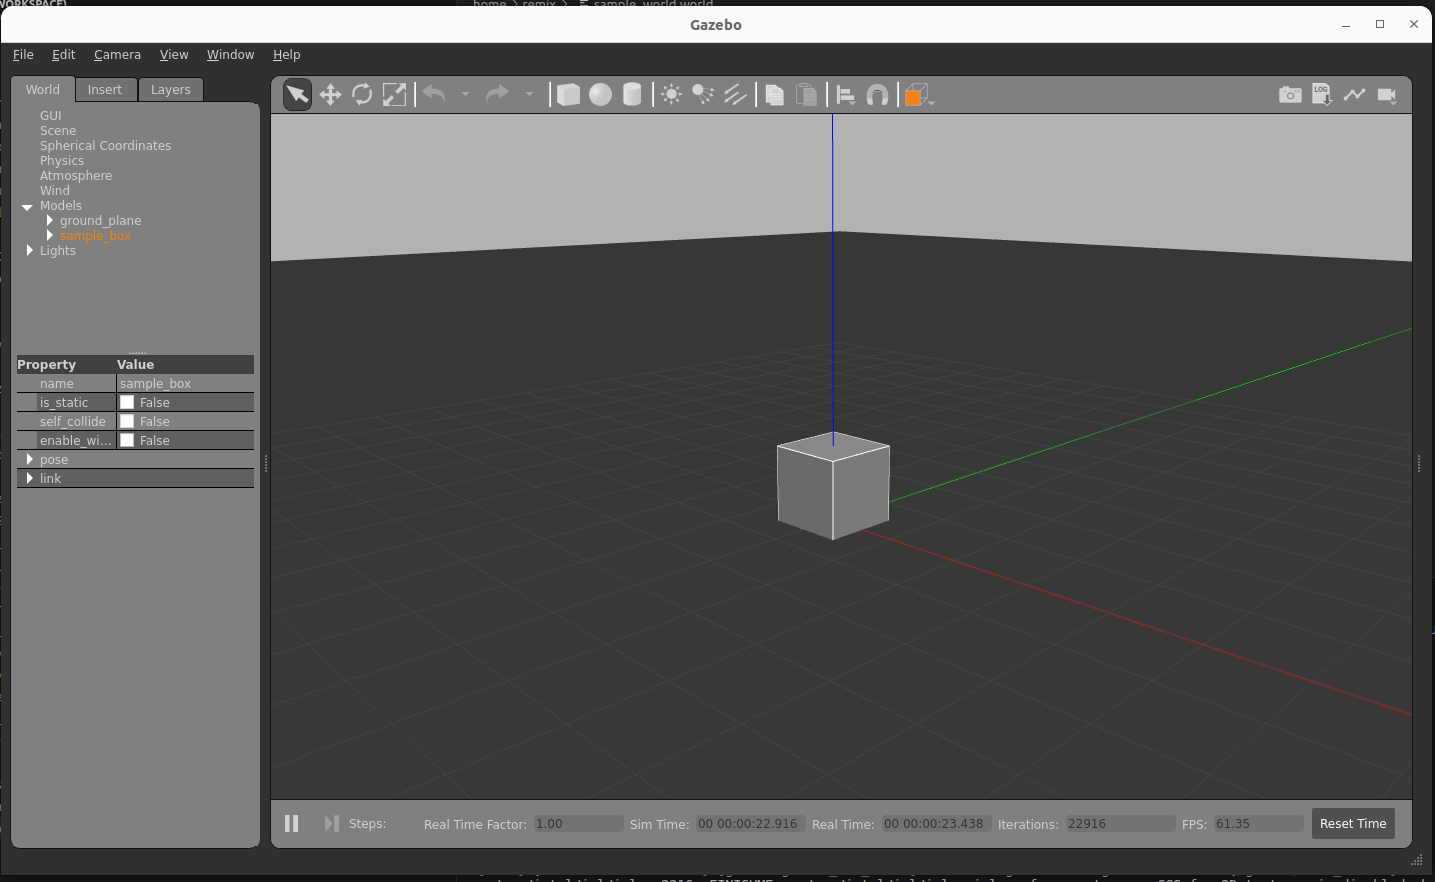
以下のようにBOXが原点に表示されるはずです。
libgazebo_ros_stateプラグインがうまく読み込めている場合は、サービスの一覧にset_entity_stateとget_entity_stateが表示されるはずです。
ros2 service list

# Output
/gazebo/gazebo_ros_state/describe_parameters
/gazebo/gazebo_ros_state/get_parameter_types
/gazebo/gazebo_ros_state/get_parameters
/gazebo/gazebo_ros_state/list_parameters
/gazebo/gazebo_ros_state/set_parameters
/gazebo/gazebo_ros_state/set_parameters_atomically
/gazebo/get_entity_state
/gazebo/set_entity_state
CLIより、get_entity_stateで位置を取得する場合は以下のコマンドを起動します。
ros2 service call /gazebo/get_entity_state gazebo_msgs/GetEntityState '{name: sample_box, referenence_frame: world}'

# Output
requester: making request: gazebo_msgs.srv.GetEntityState_Request(name='sample_box', reference_frame='world')

response:
gazebo_msgs.srv.GetEntityState_Response(header=std_msgs.msg.Header(stamp=builtin_interfaces.msg.Time(sec=268, nanosec=207000000), frame_id='world'), state=gazebo_msgs.msg.EntityState(name='', pose=geometry_msgs.msg.Pose(position=geometry_msgs.msg.Point(x=-7.946256933856395e-16, y=1.064254438566415e-15, z=0.49999999999510003), orientation=geometry_msgs.msg.Quaternion(x=4.6421123990452285e-17, y=-2.3220531991947308e-17, z=-1.5547407845533404e-15, w=1.0)), twist=geometry_msgs.msg.Twist(linear=geometry_msgs.msg.Vector3(x=0.0, y=0.0, z=0.0), angular=geometry_msgs.msg.Vector3(x=0.0, y=0.0, z=0.0)), reference_frame=''), success=True)
CLIより、set_entity_stateで位置を設定する場合は以下のコマンドを起動します。
ros2 service call /gazebo/set_entity_state gazebo_msgs/SetEntityState "state: {name: sample_box, pose: {position:{x: 1.0, y: 2.0, z: 0.0}}, reference_frame: world}"

# Output
requester: making request: gazebo_msgs.srv.SetEntityState_Request(state=gazebo_msgs.msg.EntityState(name='sample_box', pose=geometry_msgs.msg.Pose(position=geometry_msgs.msg.Point(x=1.0, y=2.0, z=0.0), orientation=geometry_msgs.msg.Quaternion(x=0.0, y=0.0, z=0.0, w=1.0)), twist=geometry_msgs.msg.Twist(linear=geometry_msgs.msg.Vector3(x=0.0, y=0.0, z=0.0), angular=geometry_msgs.msg.Vector3(x=0.0, y=0.0, z=0.0)), reference_frame='world'))

response:
gazebo_msgs.srv.SetEntityState_Response(success=True)
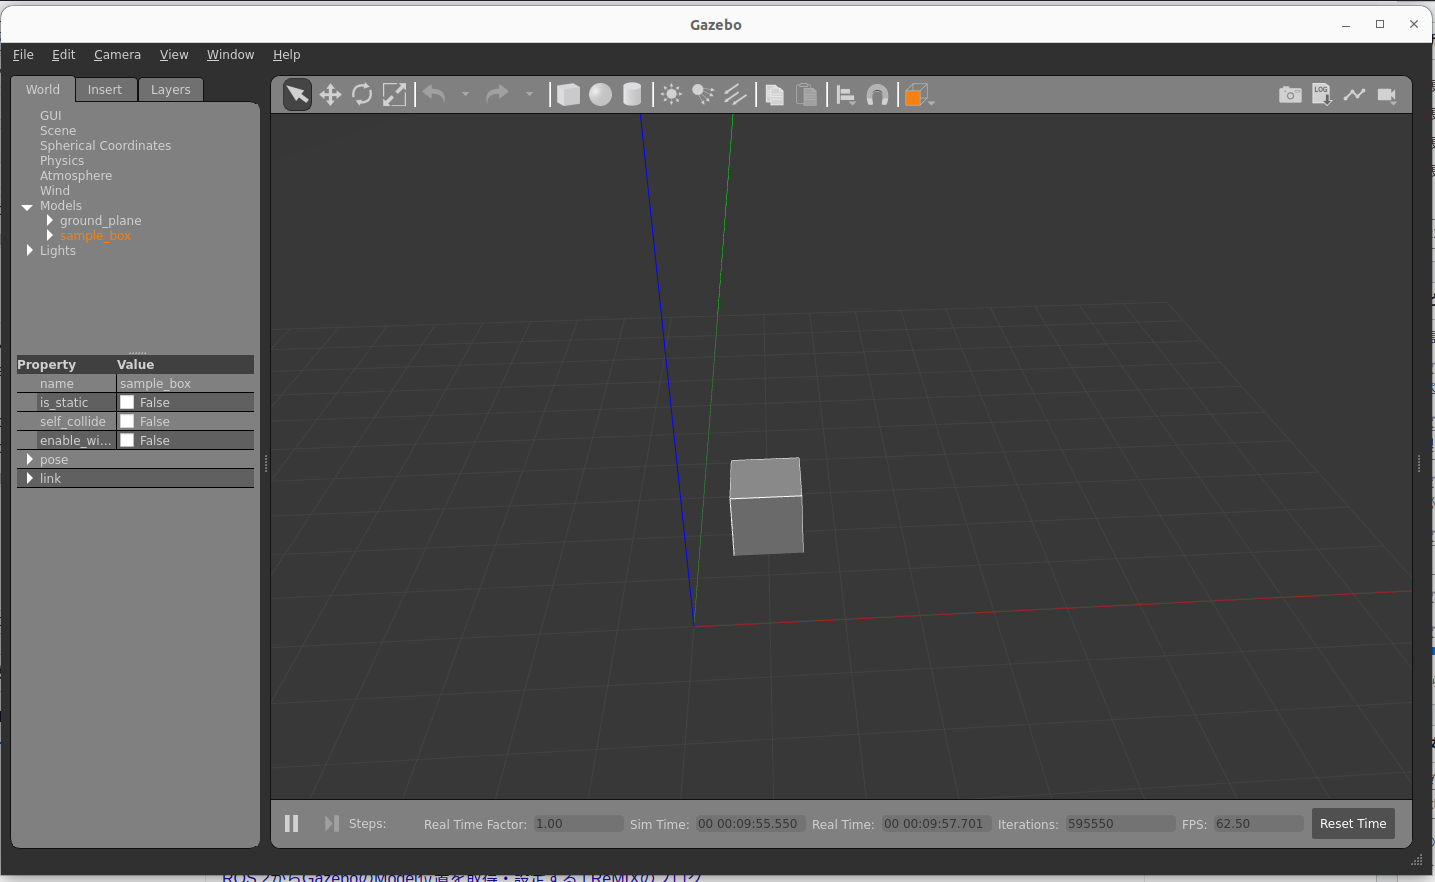
コマンド実行後は以下のように、x=1.0, y=2.0の位置に移動します。
CLIから呼び出しましたが、ROS 2のサービスコールで呼び出せるため、rclcppやrclpyでの呼び出しも可能です。


コメント